Testnet Guide
Reward Pool
$2 Million in MPX coins, which is 1.16% (100,000,000 MPX) of the total MPX coin supply.
Things to Do in User Panel
Create fresh EVM wallet. (save wallet)
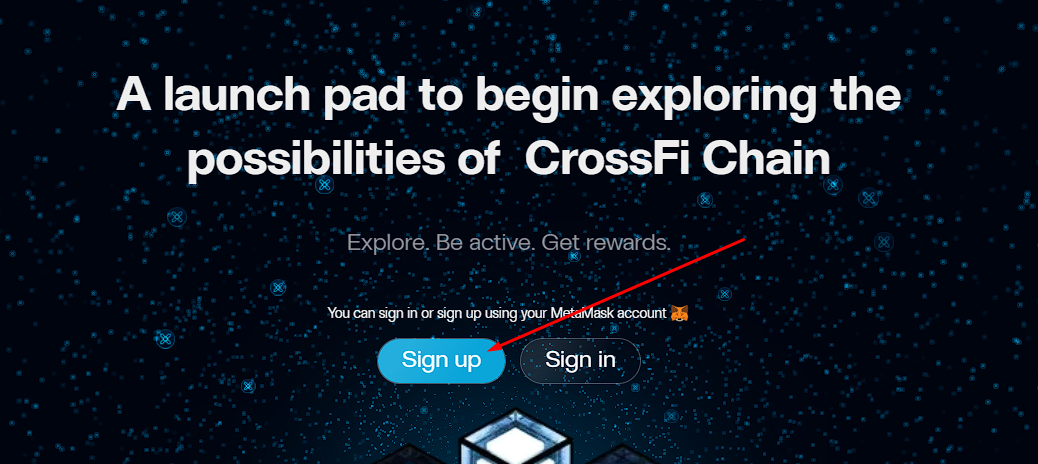
Got to user panel and Sign Up to dashboard.
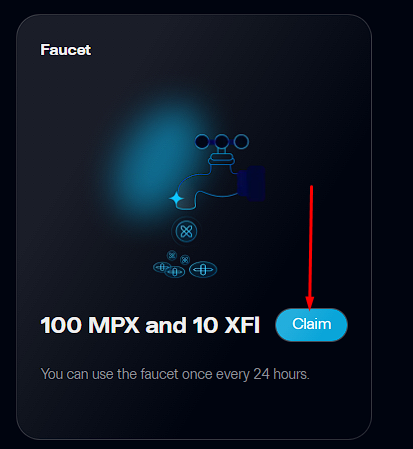
Request tokens by connecting your telegram to Faucet.
Go to XFI Console and complete the tasks on the Earn XFT page.
Things to Do in XFI Console Panel
Go to XFI Console
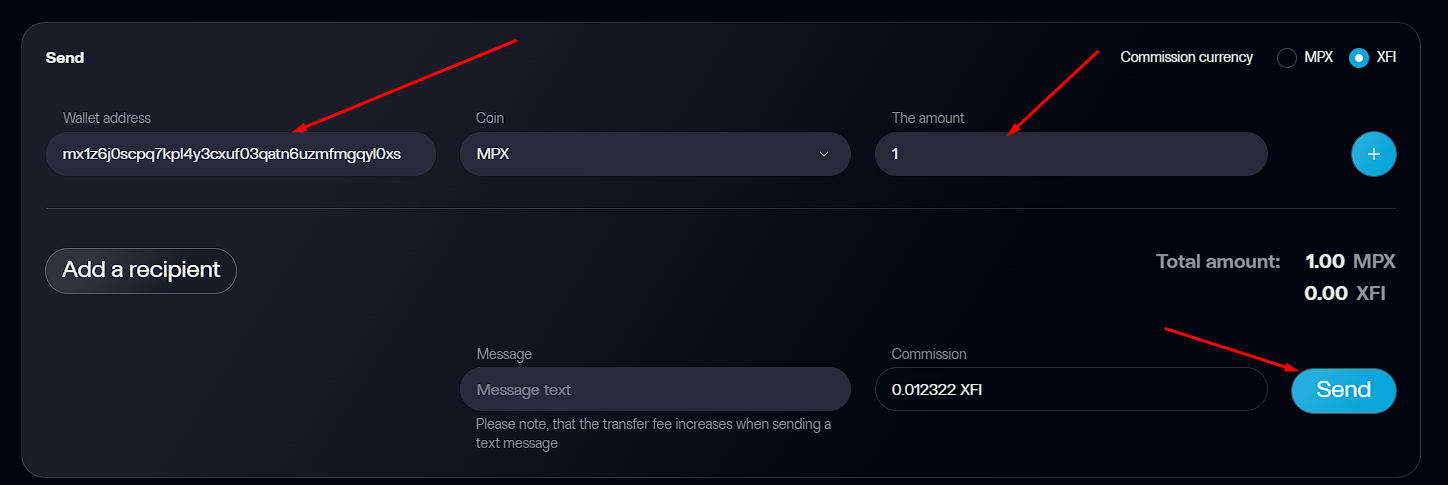
Send MPX to the Cosmos part of the console to another Cosmos wallet address
mx1zlxdl376qfele4hgncdyd6y7a8du9wqqak47k3Send XFI to the Cosmos part of the console to another Cosmos wallet addressmx1zlxdl376qfele4hgncdyd6y7a8du9wqqak47k3Send XFI to the EVM part of the console to another EVM wallet address
0x17CCDfc7Da0273fcd6e89E1a46E89EE9DbC2B800Send XFI to different two addresses
mx1zlxdl376qfele4hgncdyd6y7a8du9wqqak47k3XFImx14ys8msj28zl20ng3k0yqq04phfrc9hyssyazenXFI Send MPX to different two addressesmx1zlxdl376qfele4hgncdyd6y7a8du9wqqak47k3MPXmx14ys8msj28zl20ng3k0yqq04phfrc9hyssyazenMPXSend XFI and MPX to different two addresses in one transaction
mx1zlxdl376qfele4hgncdyd6y7a8du9wqqak47k3XFI MPXmx14ys8msj28zl20ng3k0yqq04phfrc9hyssyazenMPX XFISend Foundation token (XFT) with your wallet. Add XFI token contract (
0xDb5C548684221Ce2f55F16456Ec5Cf43a028D8e9) to your wallet and send wallet -0x17CCDfc7Da0273fcd6e89E1a46E89EE9DbC2B800Delegate MPX to BonyNode💚 validator
Claim Reward Then go to user panel and confirm you transactions. Earn XFT page.
Transaction Control Page
You can check transactions page. You can find yourself a wallet address to perform tasks. Go to https://testpad.xfi.foundation/
Sign Up using Metamask
Claim 100 MPX (Every 24 hours you can claim). To claim MPX you need to login via Telegram.
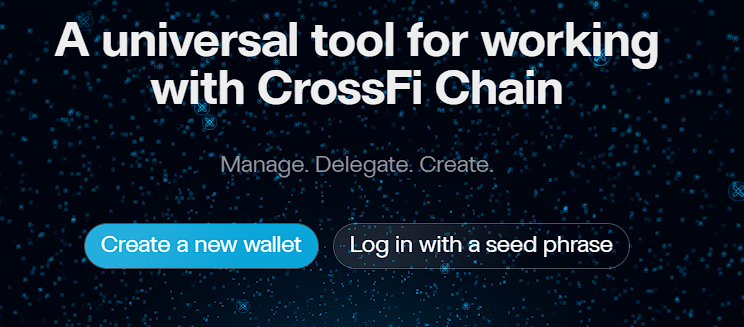
Go to https://test.xficonsole.com/
Log in using seed phrase from the wallet you were using before
Send tokens to any address in Cosmos. If you dont want to look for a wallet where to send, you can send to me: mx1zlxdl376qfele4hgncdyd6y7a8du9wqqak47k3
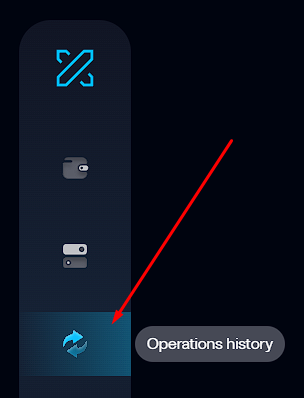
Open Operations History tab and copy Transaction Hash
Go back to Testpad - Link
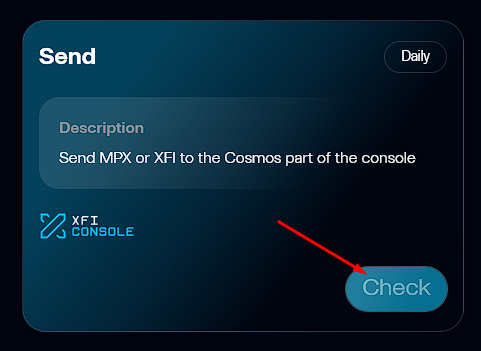
Press Check and paste transaction Hash
Next, go back to the console and do the same for EVM. A wallet to which you can always send tokens:
0x17CCDfc7Da0273fcd6e89E1a46E89EE9DbC2B800
Then we open the transaction history again, copy the Hash and paste it into testpad for verification

Now we are performing a multi send 1 task
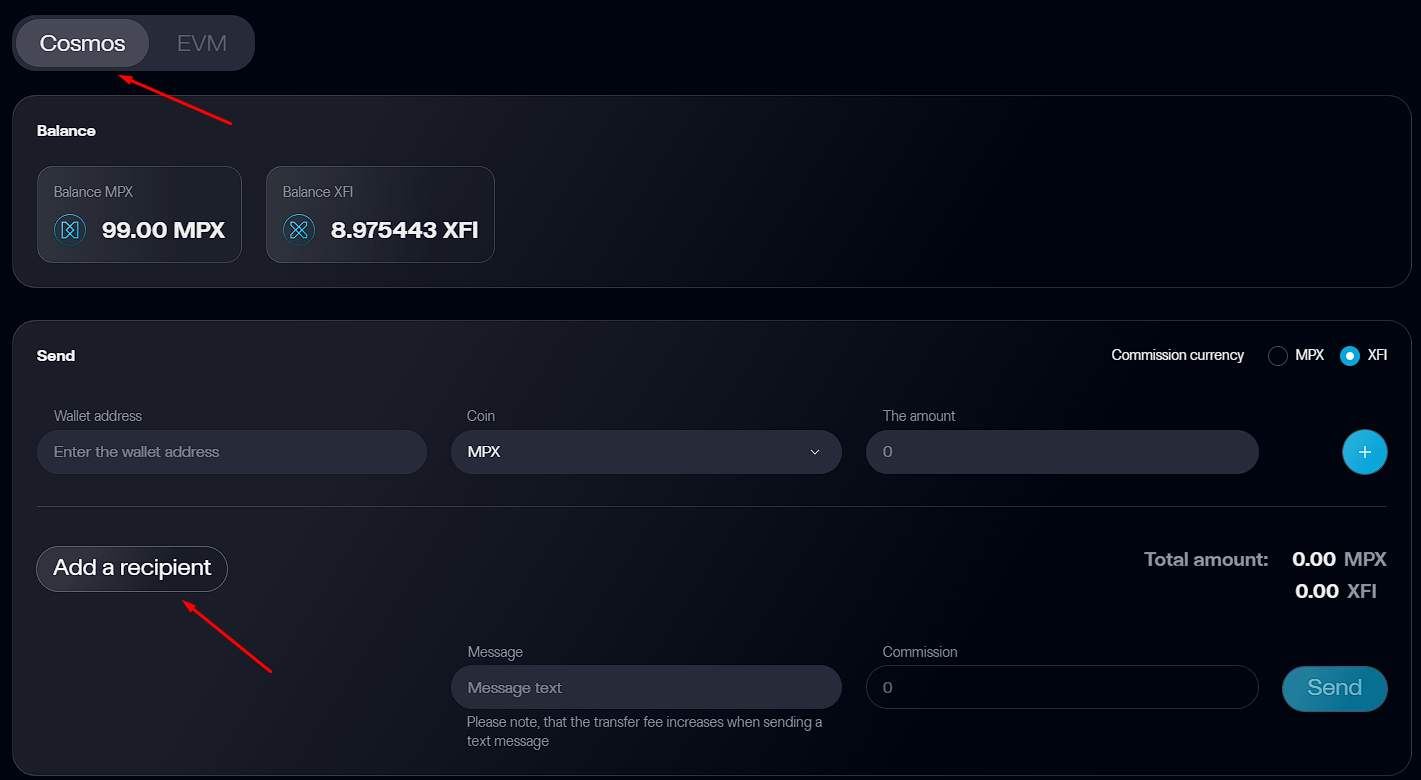
Enter the wallets, the amount and send it.
mx1zlxdl376qfele4hgncdyd6y7a8du9wqqak47k3
mx14ys8msj28zl20ng3k0yqq04phfrc9hyssyazen
Copy the hash of the transaction and send it for verification
Next, Multisend 2 task
We do everything the same as in multisend 1, but select different coins.
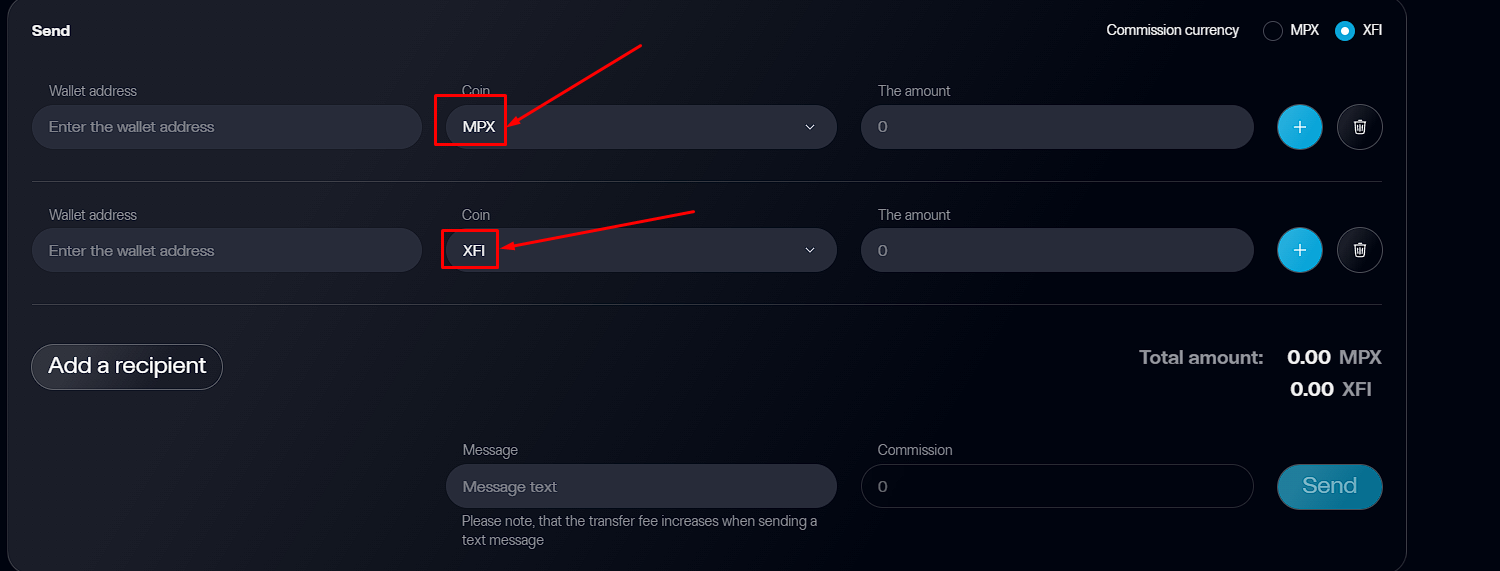
Send, copy the hash and check it.
Now the most important part is to delegate tokens to the validator
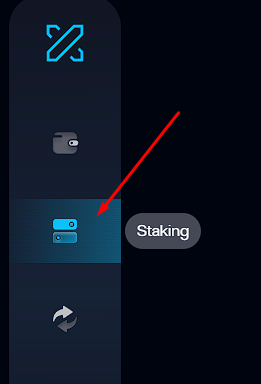
In the console, go to the Staking tab
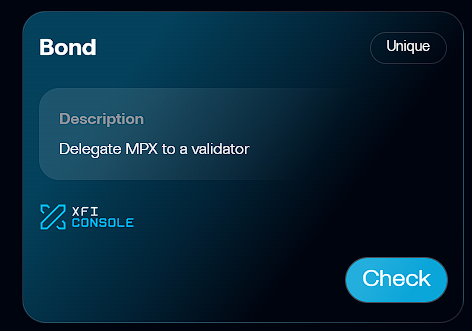
Press Bond

We are looking for "BonyNode💚" in the list of validators
We enter the number of tokens that we will send to the Stake and confirm.
It is advisable to delegate every day so that your tokens do not lie idle
Copy the Hash of the transaction and send it for verification.
And the last task is Send Foundation token (XFT)
Importing the token into metamask
Contract address: 0xdb5c548684221ce2f55f16456ec5cf43a028d8e9
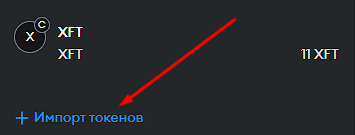
Send tokens to any address
My wallet: 0x17CCDfc7Da0273fcd6e89E1a46E89EE9DbC2B800
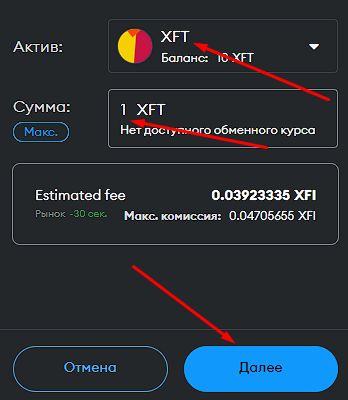
Go to the transaction history and copy the hash of the transaction
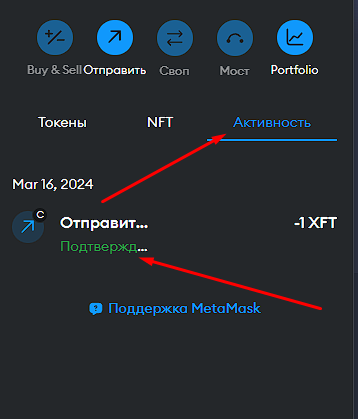
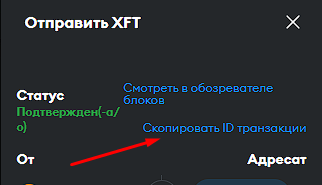
Send it for verification. Ready!
Last updated